上一篇文章写得有点乱七八糟,这次专门针对组件化的实现中所需要的私有pod库创建写一篇文章。
安装CocoaPods
这个步骤就不多说了,自己去google一下。
创建一个远程内部私有Spec Repo仓库
其实之前应该也很清楚了,公开库里都会有一个公共的Repo仓库,地址就是https://github.com/CocoaPods/Specs.git,然后每一个公共库都会有一个算是索引的东西连接到这个库,其实就是一个文件夹,然后里边有这个公共库的各个版本,每个版本中有一个***.podspec的文件作为这个公共库的索引。
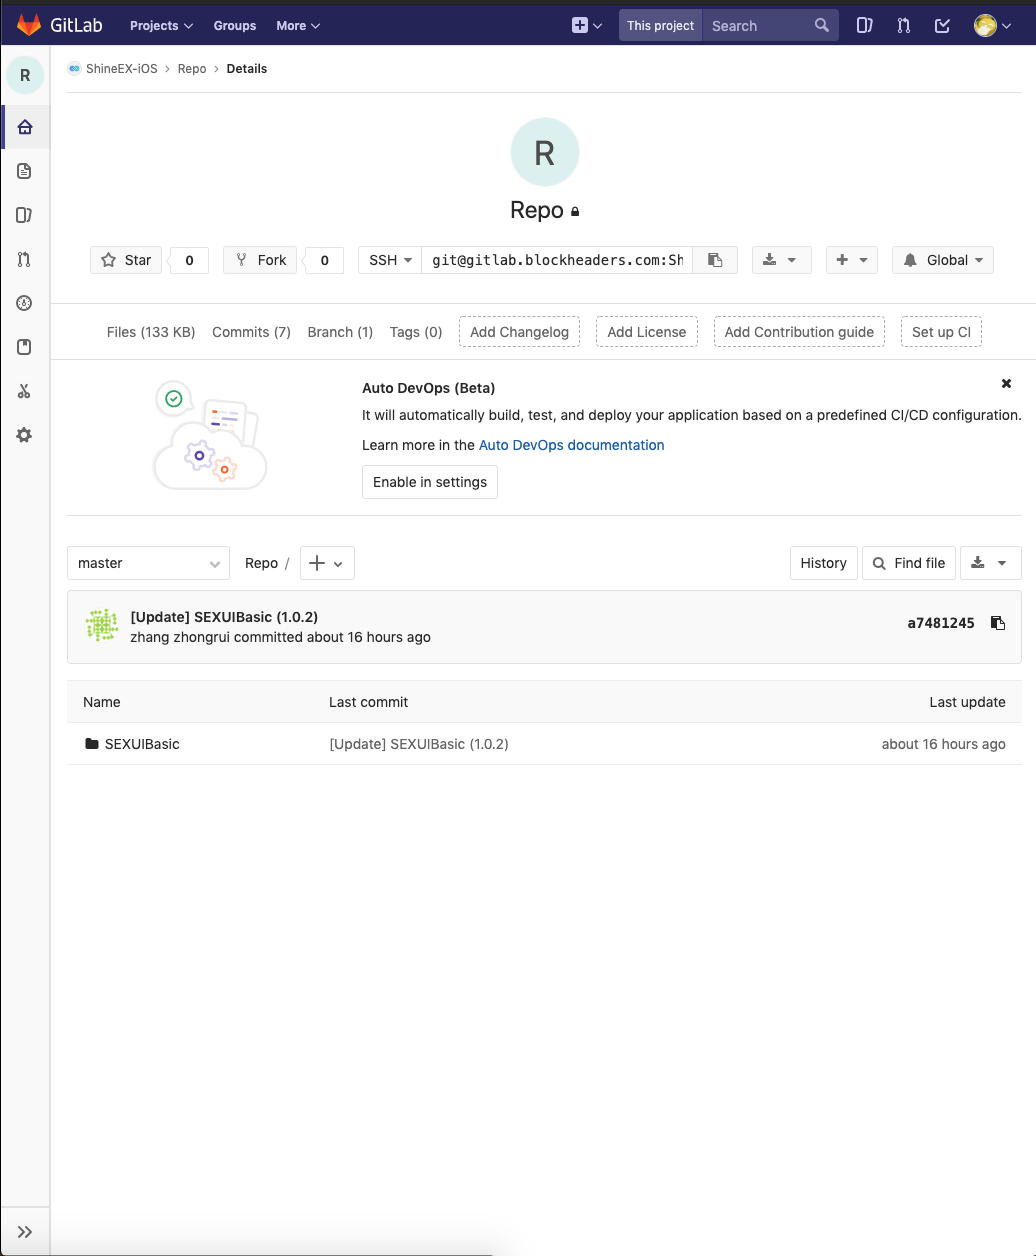
那么我们建立私有库是没有这个Repo的,所以我们需要自己创建一个Spec Repo。在一个代码托管仓库创建好Repo之后,将他clone到本地:
|
|
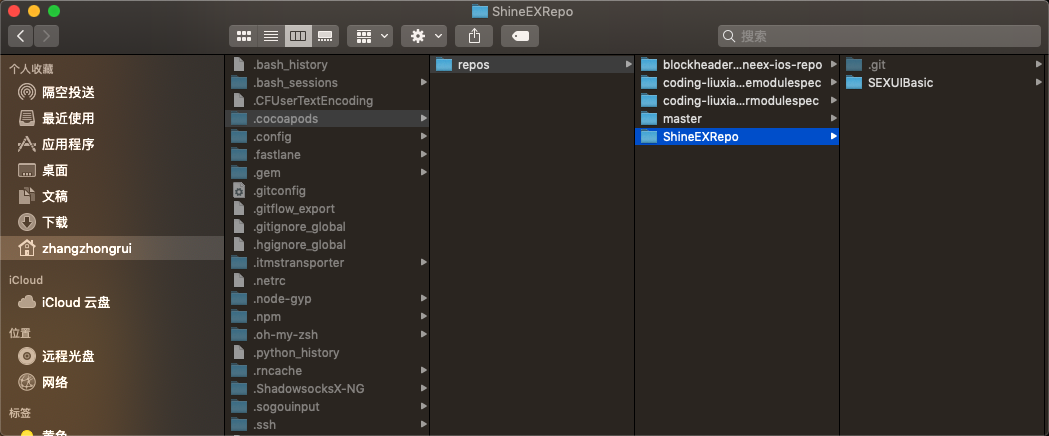
添加好之后,他就会在本地的repo目录中添加一个文件夹,目录地址是:
|
|
创建Pod库
根据模板创建Pod库
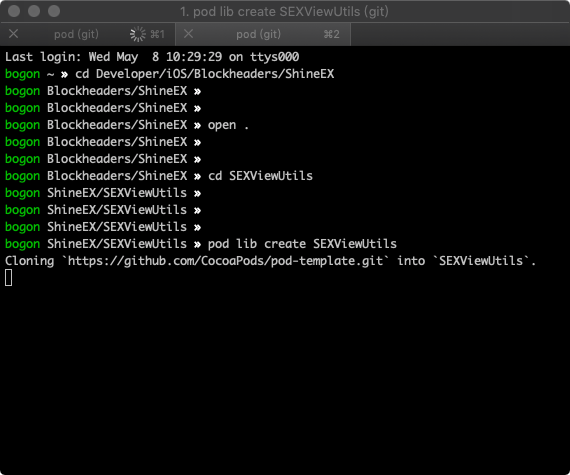
首先先cd到一个你想要放置代码的地方,然后执行:
|
|
这时候就会开始根据模板创建Pod库:
然后你要回答一些问题:
|
|
接下来等待他下载安装一些东西就可以了。
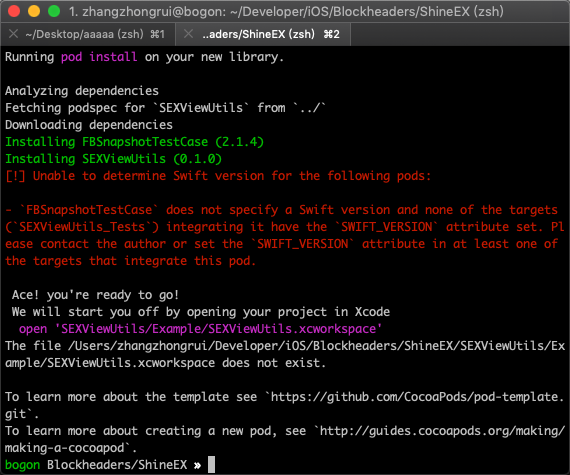
这里有一个swift的报错,不过我们用的是ObjC所以暂时先不管他,另外看到对应文件夹里也有了文件:
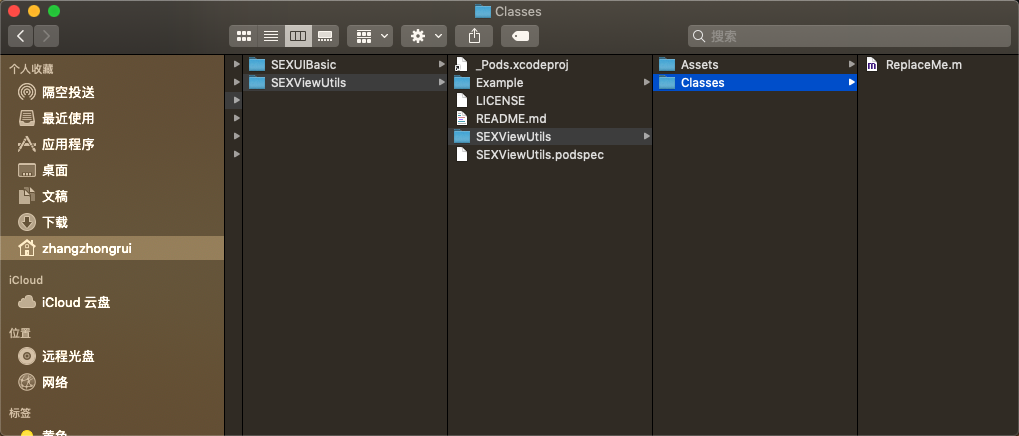
添加库中的文件
从上边的图中也能看到,在文件夹中的Classes下有一个ReplaceMe.m的文件,我们把我们需要添加到库中的文件替换到这个文件夹中就可以了。
编辑*.podspec文件
另外可以看到项目中还有一个*.podspec文件,这里主要是用来配置pod库的基本内容,打开之后我们来修改一下这里的一些东西:
|
|
上边的东西都看你个人的方式修改,其中需要注意的就是有些选项默认是被注释掉了,如果想要使用记得先把注释去掉。
另外就是关于s.source_files的写法:
|
|
验证本地是否通过
配置好podspec之后,需要验证一下本地是否通过验证,输入如下命令
|
|
这时候可能存在ERROR和WARN的存在,ERROR是一定要解决的,理论上WARN最好也要解决,不过如果有些WARN不想解决也可以通过--allow-warnings绕过。即:
|
|

最后出现SEXViewUtils passed validation.就表示通过了验证。
另外,如果你的pod库中依赖第三方库,而第三方库包含静态库(如*.a),在验证的时候,不能通过验证,可以使用如下命令:
|
|
推送代码到远程仓库并打上标签
这时候,本地的仓库就已经差不多好了,接下来需要的就是把本地的库推到远程仓库中,如果还没有创建远程仓库,需要先创建一个对应的远程仓库,然后提交代码:
|
|
提交了之后在本地打上标签,注意这里的标签需要和.podspec文件中的version相同:
|
|
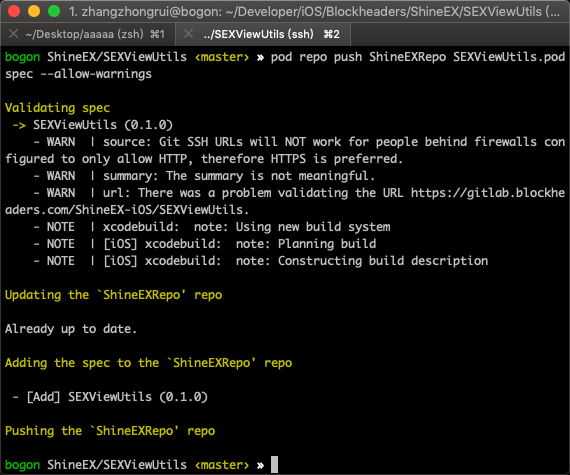
推送*.podspec到远程repo
这时候你的库代码已经推送到了你的远程仓库中,但是之前我们提到的repo还没有更新,所以这时候需要把更新的东西提交到repo中。所以先cd到你的本地库路径,然后执行:
|
|
同样的,这边也有可能出现WARN的情况,你可以通过--allow-warnings来绕过。
|
|
然后看到这个样子,就说明推送成功了。
验证远程是否通过
之前我们在本地验证过了一次是否通过,这次我们推送到远程之后需要在验证一次。
|
|
同样的--allow-warnings我就不废话了。
|
|
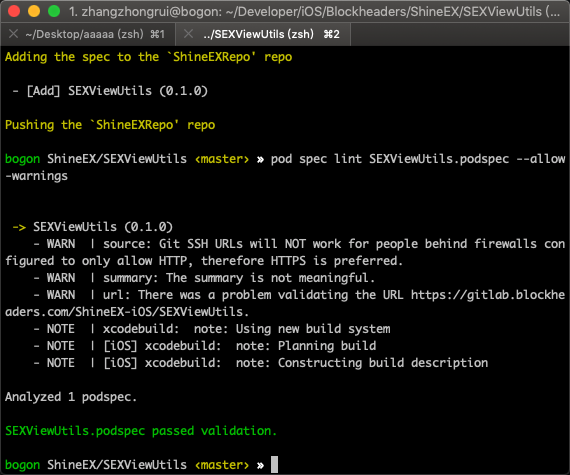
这样就说明通过了。
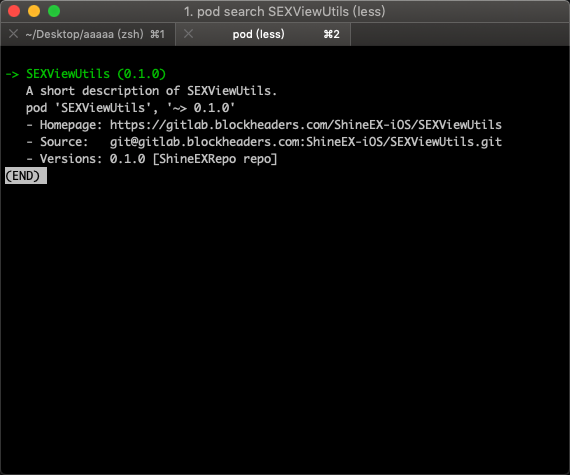
搜索私有库
你可以通过搜索查看私有库是否可用:
|
|
如果看到报错

清理一下之前的缓存之后在试一下应该就可以了。
|
|
使用测试
接下来我们创建一个项目,测试一下我们的私有库是否可用,这里需要注意的就是,我们之前只有公有库的Podfile文件中默认source就是CocoaPods的公有库,而当我们要使用私有库的时候,就需要指定私有库的source了。下边我们编辑一下Podfile的文件:
|
|
然后执行
|
|
安装好之后重新打开workspace就会发现私有库已经集成到了项目中了。
更新私有库
跟着项目不断开发,我们的私有库也肯定需要不断的优化。
修改文件
修改文件这一步应该就不用多说了,在之前的文件夹中替换内容就OK了。
然后提交新的文件到远程仓库中。基本的命令也不多说了。
|
|
新增tag
修改好之后,再打上一个新增版本的tag:
|
|
修改*.podspec文件
如果没有什么依赖库的新增,这边就直接修改s.version就可以了,如果要新增依赖库,可以参见之前的内容添加依赖。
|
|
本地验证+提交podspec+远程验证
接下来的步骤和之前第一次提交没有太多的差别,执行验证通过之后上传到远程的pod中,然后再在远程验证一次就可以了。所以这里也就不赘述了。
|
|
|
|
|
|
使用新版本
在使用的时候修改项目中的Podfile文件,指定个版本号
|
|
这时候你有可能遇到问题:
|
|
这个时候需要更新一下repo,使用
|
|
等待repo更新完之后就能顺利安装了。
删除Spec Repo
删除一个repo只需要运行remove就可以了
|
|
当然,如果删除之后还想要拿回来,也很方便
|
|
踩到的坑
Could not find remote branch 1.0.1 to clone
有可能是因为找不到对应的tag,检查一下podspec中的tag是否正确,还有就是tag有没有推送到远程仓库中
|
|
坑持续更新,欢迎留言一起讨论
…
结束
这篇文章主要是这两天在给公司项目组件化的时候参考几位大佬文章之后实践的过程的记录,组件化工作才刚刚开始,估计后边还会遇到很多坑,如果文章中有什么不对的地方还请大佬们多多指点。
参考文档
CocoaPods进阶:详解私有库制作 - 掘金
创建私有仓库中踩过的坑 - 简书
CocoaPods模块化应用-私有库更新 - 掘金