iOS开发-fastlane研究

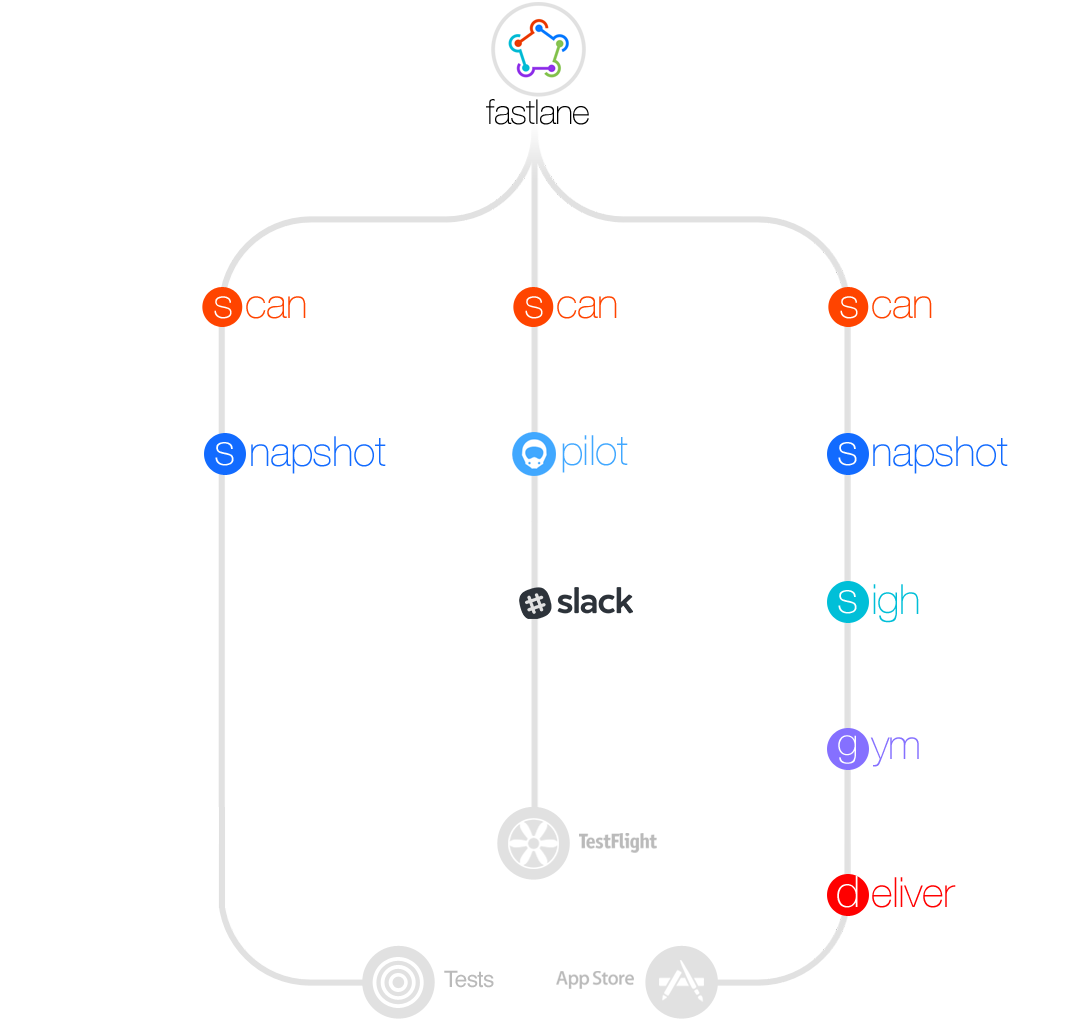
Fastlane是一个完全开源的项目GitHub - fastlane/fastlane: 🚀 The easiest way to automate building and releasing your iOS and Android apps,实际上是一个Ruby实现的工具集合,他可以完成iOS和Android工程的自动化操作,可以简化一些乏味、单调、重复的工作,比如截图、代码签名和发布App。
只要一条命令就可以从Xcode项目到编译、打包、提交审核。

logo

一. CI、CD

简单介绍一下CI和CD。

1.CI:持续集成

CI全称Continuous Integration,表示持续集成。

在CI环境中,开发人员会频繁地向主干提交代码,这些新提交的代码会在最终合并到主干前,需要经过编译和自动化测试进行认证。

持续集成过程中很重视自动化测试验证结果,以保障所有的提交在合并主线之后的质量问题,对可能出现的一些问题预警。

CI要求开发人员为提交的代码创建自动化测试用例;
并且需要一个持续集成服务器,监控代码提交情况,并且对每次新提交的内容进行自动化测试;
研发团队也需要尽可能快的提交代码。

2.CD:持续部署

CD全称Continuous Deployment,表示持续部署。

在CD环境中,通过自动化构建、测试和部署环来快速交付高质量的产品。某种程度上代表了一个开发团队工程化的程度,任何修改通过了所有已有的工作流就会直接和客户见面,只有当一个修改在工作流中构建失败才能阻止它部署到产品线。

持续部署没有定义的发布日,开发人员修改工作后几分钟就可以上线了。

基本上,当开发人员在主分支中合并一个提交时,这个分支被构建、测试,如果一切顺利,则部署到生产环境中。

CD中研发团队测试理念比较完善。测试单元的健壮性决定你的交付质量;
文档和部署频率要保持一致;
特征标志成为发布重大变化过程的固有部分;

3.CD:持续交付

CD全称Continuous Delivery,是一种软件工程手法。

在CD环境中,可以让软件产品的产出过程在一个短周期内完成,以保证软件可以稳定、持续的保持在随时可以发布的状态。他的目标在于让软件的构建和测试以及发布更加频繁。这种方式可以减少软件开发的成本与时间,减少风险。

有时候,持续交付也与持续部署混淆。持续部署意味着所有的变更都会被自动部署到生产环境中。持续交付意味着所有的变更都可以被部署到生产环境中,但是出于业务考虑,可以选择不部署。如果要实施持续部署,必须先实施持续交付。

CD中需要有强大的持续集成组件和足够多的测试项可以满足代码的需求;
并且部署需要自动化,触发是手动的,但部署一旦开始,就不能人为干预;
并且可能需要接受特性开关,没有完成的功能模块不会影响到线上产品。

二. 搭建环境

1.Ruby

因为fastlane是一个ruby的脚本集合,所以必须要安装Ruby。要保证Ruby的版本要不低于2.0。可以通过命令行来确认Ruby的版本。

1
$ ruby -v

一般情况下OS X 10.9(Mavericks) 下默认安装的都是Ruby2.0版本,如果低于2.0可以自行google一下如何升级。

2.Xcode命令行工具

可以再命令行中输入命令判断是否安装了命令行工具。

1
$ xcode-select —install

如果发现如下提示

1
command line tools are already installed, use “Software Update” to install updates.

则说明已经安装过了,否则时候弹窗安装Xcode命令行工具。

3.fastlane

终于到了安装fastlane的时候了。
直接执行

1
sudo gem install fastlane -NV

就可以了。期间有可能遇到报错,可能是因为源的问题,修改一下ruby的sources就可以了。

接下来就可以使用了。

三. 使用fastlane

1.fastlane init

Cd到你的项目所在目录,然后执行命令就可以了。

1
2
$ cd <项目目录>
$ fastlane init

然后小火箭转完,就会有四个选择,让你选择使用它做什么。

1
2
3
4
5
6
7
8
9
10
11
12
13
14
15
[✔] 🚀
[✔] Looking for iOS and Android projects in current directory...
[10:22:27]: Created new folder './fastlane'.
[10:22:27]: Detected an iOS/macOS project in the current directory: 'LifeMap.xcworkspace'
[10:22:27]: -----------------------------
[10:22:27]: --- Welcome to fastlane 🚀 ---
[10:22:27]: -----------------------------
[10:22:27]: fastlane can help you with all kinds of automation for your mobile app
[10:22:27]: We recommend automating one task first, and then gradually automating more over time
[10:22:27]: What would you like to use fastlane for?
1. 📸 Automate screenshots
2. 👩‍✈️ Automate beta distribution to TestFlight
3. 🚀 Automate App Store distribution
4. 🛠 Manual setup - manually setup your project to automate your tasks
?
  1. 📸 Automate screenshots (自动截取屏幕截图)
  2. 👩‍✈️ Automate beta distribution to TestFlight (自动发布TestFlight版本)
  3. 🚀 Automate App Store distribution (自动发布App Store版本)
  4. 🛠 Manual setup - manually setup your project to automate your tasks (手动配置内容)

tips:可以把每一种都试一下,反正把fastlane文件夹删除了之后重新init就可以了

2.TestFlight

第一个屏幕截图先跳过,我们直接使用2.TestFlight。

输入2之后敲回车,接着他会让你输入Apple ID username

1
2
3
4
5
6
7
8
9
10
11
12
13
14
15
16
17
18
19
20
21
22
23
[10:30:17]: -----------------------------------------------------------
[10:30:17]: --- Setting up fastlane for iOS TestFlight distribution ---
[10:30:17]: -----------------------------------------------------------
[10:30:17]: Parsing your local Xcode project to find the available schemes and the app identifier
[10:30:17]: $ xcodebuild -showBuildSettings -workspace LifeMap.xcworkspace -scheme LifeMap
[10:30:19]: $ cd /Users/LifeMap && agvtool what-version -terse
[10:30:19]: --------------------------------
[10:30:19]: --- Login with your Apple ID ---
[10:30:19]: --------------------------------
[10:30:19]: To use App Store Connect and Apple Developer Portal features as part of fastlane,
[10:30:19]: we will ask you for your Apple ID username and password
[10:30:19]: This is necessary for certain fastlane features, for example:
[10:30:19]:
[10:30:19]: - Create and manage your provisioning profiles on the Developer Portal
[10:30:19]: - Upload and manage TestFlight and App Store builds on App Store Connect
[10:30:19]: - Manage your App Store Connect app metadata and screenshots
[10:30:19]:
[10:30:19]: Your Apple ID credentials will only be stored in your Keychain, on your local machine
[10:30:19]: For more information, check out
[10:30:19]: https://github.com/fastlane/fastlane/tree/master/credentials_manager
[10:30:19]:
[10:30:19]: Please enter your Apple ID developer credentials
[10:30:19]: Apple ID Username:

输入AppleID之后,会让你输入密码,如果有开启2FA(现在应该都强制开启了),就会让你以你的2FA方式输入内容。

1
2
3
4
5
6
7
8
9
10
11
12
Two-factor Authentication (6 digits code) is enabled for account 'xxx@gmail.com'
More information about Two-factor Authentication: https://support.apple.com/en-us/HT204915
If you're running this in a non-interactive session (e.g. server or CI)
check out https://github.com/fastlane/fastlane/tree/master/spaceship#2-step-verification
(Input `sms` to escape this prompt and select a trusted phone number to send the code as a text message)
(You can also set the environment variable `SPACESHIP_2FA_SMS_DEFAULT_PHONE_NUMBER` to automate this)
(Read more at: https://github.com/fastlane/fastlane/blob/master/spaceship/docs/Authentication.md#auto-select-sms-via-spaceship-2fa-sms-default-phone-number)
Please enter the 6 digit code:

之后就会看到登录成功了,然后创建成功了,会提示敲回车继续,接下来就是一路回车,会提示你各种使用方式,下边这段可以省略。

1
2
3
4
5
6
7
8
9
10
11
12
13
14
15
16
17
18
19
20
[10:34:07]: ✅ Logging in with your Apple ID was successful
[10:34:07]: Checking if the app 'com.张忠瑞.LifeMap' exists in your Apple Developer Portal...
[10:34:08]: ✅ Your app 'com.张忠瑞.LifeMap' is available in your Apple Developer Portal
[10:34:08]: Checking if the app 'com.张忠瑞.LifeMap' exists on App Store Connect...
[10:34:08]: ✅ Your app 'com.张忠瑞.LifeMap' is available on App Store Connect
[10:34:08]: It looks like your project isn't set up to do automatic version incrementing
[10:34:08]: To enable fastlane to handle automatic version incrementing for you, please follow this guide:
[10:34:08]: https://developer.apple.com/library/content/qa/qa1827/_index.html
[10:34:08]: Afterwards check out the fastlane docs on how to set up automatic build increments
[10:34:08]: https://docs.fastlane.tools/getting-started/ios/beta-deployment/#best-practices
[10:34:08]: Installing dependencies for you...
[10:34:08]: --------------------------------------------------------
[10:34:08]: --- ✅ Successfully generated fastlane configuration ---
[10:34:08]: --------------------------------------------------------
[10:34:08]: Generated Fastfile at path `./fastlane/Fastfile`
[10:34:08]: Generated Appfile at path `./fastlane/Appfile`
[10:34:08]: Gemfile and Gemfile.lock at path `Gemfile`
[10:34:08]: Please check the newly generated configuration files into git along with your project
[10:34:08]: This way everyone in your team can benefit from your fastlane setup
[10:34:08]: Continue by pressing Enter ⏎
1
2
3
4
5
6
7
8
9
[10:35:28]: fastlane will collect the number of errors for each action to detect integration issues
[10:35:28]: No sensitive/private information will be uploaded, more information: https://docs.fastlane.tools/#metrics
[10:35:28]: ----------------------
[10:35:28]: --- fastlane lanes ---
[10:35:28]: ----------------------
[10:35:28]: fastlane uses a `Fastfile` to store the automation configuration
[10:35:28]: Within that, you'll see different lanes.
[10:35:28]: Each is there to automate a different task, like screenshots, code signing, or pushing new releases
[10:35:28]: Continue by pressing Enter ⏎
1
2
3
4
5
6
7
[10:35:42]: --------------------------------------
[10:35:42]: --- How to customize your Fastfile ---
[10:35:42]: --------------------------------------
[10:35:42]: Use a text editor of your choice to open the newly created Fastfile and take a look
[10:35:42]: You can now edit the available lanes and actions to customize the setup to fit your needs
[10:35:42]: To get a list of all the available actions, open https://docs.fastlane.tools/actions
[10:35:42]: Continue by pressing Enter ⏎

最后看到如下代码就说明已经创建成功了。通过fastlane beta就可以执行了。

1
2
3
4
5
6
7
8
9
10
11
12
13
14
[10:35:53]: ------------------------------
[10:35:53]: --- Where to go from here? ---
[10:35:53]: ------------------------------
[10:35:53]: 📸 Learn more about how to automatically generate localized App Store screenshots:
[10:35:53]: https://docs.fastlane.tools/getting-started/ios/screenshots/
[10:35:53]: 👩‍✈️ Learn more about distribution to beta testing services:
[10:35:53]: https://docs.fastlane.tools/getting-started/ios/beta-deployment/
[10:35:53]: 🚀 Learn more about how to automate the App Store release process:
[10:35:53]: https://docs.fastlane.tools/getting-started/ios/appstore-deployment/
[10:35:53]: 👩‍⚕️ Learn more about how to setup code signing with fastlane
[10:35:53]: https://docs.fastlane.tools/codesigning/getting-started/
[10:35:53]:
[10:35:53]: To try your new fastlane setup, just enter and run
[10:35:53]: $ fastlane beta

3.AppStore

回到之前init的地方,这次我们选择3.AppStore。同样还是输入AppleID,只不过title变了而已。

1
2
3
4
5
6
7
8
9
10
11
12
13
14
15
16
17
18
19
20
21
22
23
[10:49:28]: ----------------------------------------------------------
[10:49:28]: --- Setting up fastlane for iOS App Store distribution ---
[10:49:28]: ----------------------------------------------------------
[10:49:28]: Parsing your local Xcode project to find the available schemes and the app identifier
[10:49:28]: $ xcodebuild -showBuildSettings -workspace LifeMap.xcworkspace -scheme LifeMap
[10:49:30]: $ cd /Users//LifeMap && agvtool what-version -terse
[10:49:30]: --------------------------------
[10:49:30]: --- Login with your Apple ID ---
[10:49:30]: --------------------------------
[10:49:30]: To use App Store Connect and Apple Developer Portal features as part of fastlane,
[10:49:30]: we will ask you for your Apple ID username and password
[10:49:30]: This is necessary for certain fastlane features, for example:
[10:49:30]:
[10:49:30]: - Create and manage your provisioning profiles on the Developer Portal
[10:49:30]: - Upload and manage TestFlight and App Store builds on App Store Connect
[10:49:30]: - Manage your App Store Connect app metadata and screenshots
[10:49:30]:
[10:49:30]: Your Apple ID credentials will only be stored in your Keychain, on your local machine
[10:49:30]: For more information, check out
[10:49:30]: https://github.com/fastlane/fastlane/tree/master/credentials_manager
[10:49:30]:
[10:49:30]: Please enter your Apple ID developer credentials
[10:49:30]: Apple ID Username:

因为之前登陆过了,所以这次不用输入密码和2FA验证码了。

接下来会问,是否允许fastlane帮你管理metadat。

1
2
3
4
5
6
7
8
9
10
11
12
13
14
15
[10:50:32]: Logging in...
[10:50:37]: ✅ Logging in with your Apple ID was successful
[10:50:37]: Checking if the app 'com.张忠瑞.LifeMap' exists in your Apple Developer Portal...
[10:50:38]: ✅ Your app 'com.张忠瑞.LifeMap' is available in your Apple Developer Portal
[10:50:38]: Checking if the app 'com.张忠瑞.LifeMap' exists on App Store Connect...
[10:50:39]: ✅ Your app 'com.张忠瑞.LifeMap' is available on App Store Connect
[10:50:39]: ----------------------------
[10:50:39]: --- Manage app metadata? ---
[10:50:39]: ----------------------------
[10:50:39]: Would you like to have fastlane manage your app's metadata?
[10:50:39]: If you enable this feature, fastlane will download your existing metadata and screenshots.
[10:50:39]: This way, you'll be able to edit your app's metadata in local `.txt` files.
[10:50:39]: After editing the local `.txt` files, just run fastlane and all changes will be pushed up.
[10:50:39]: If you don't want to use this feature, you can still use fastlane to upload and distribute new builds to the App Store
[10:50:39]: Would you like fastlane to manage your app's metadata? (y/n)

接下来也是一顿回车,然后就会发现创建成功了,可以通过fastlane release来调用打包上传App Store。

1
2
3
4
5
6
7
8
9
10
11
12
13
14
15
16
17
18
19
20
21
22
23
24
25
26
27
28
29
30
31
32
33
34
35
36
37
38
39
40
41
[10:52:25]: --------------------------------------------------------
[10:52:25]: --- ✅ Successfully generated fastlane configuration ---
[10:52:25]: --------------------------------------------------------
[10:52:25]: Generated Fastfile at path `./fastlane/Fastfile`
[10:52:25]: Generated Appfile at path `./fastlane/Appfile`
[10:52:25]: Gemfile and Gemfile.lock at path `Gemfile`
[10:52:25]: Please check the newly generated configuration files into git along with your project
[10:52:25]: This way everyone in your team can benefit from your fastlane setup
[10:52:25]: Continue by pressing Enter ⏎
[10:52:25]: fastlane will collect the number of errors for each action to detect integration issues
[10:52:25]: No sensitive/private information will be uploaded, more information: https://docs.fastlane.tools/#metrics
[10:52:25]: ----------------------
[10:52:25]: --- fastlane lanes ---
[10:52:25]: ----------------------
[10:52:25]: fastlane uses a `Fastfile` to store the automation configuration
[10:52:25]: Within that, you'll see different lanes.
[10:52:25]: Each is there to automate a different task, like screenshots, code signing, or pushing new releases
[10:52:25]: Continue by pressing Enter ⏎
[10:52:31]: --------------------------------------
[10:52:31]: --- How to customize your Fastfile ---
[10:52:31]: --------------------------------------
[10:52:31]: Use a text editor of your choice to open the newly created Fastfile and take a look
[10:52:31]: You can now edit the available lanes and actions to customize the setup to fit your needs
[10:52:31]: To get a list of all the available actions, open https://docs.fastlane.tools/actions
[10:52:31]: Continue by pressing Enter ⏎
[10:52:32]: ------------------------------
[10:52:32]: --- Where to go from here? ---
[10:52:32]: ------------------------------
[10:52:32]: 📸 Learn more about how to automatically generate localized App Store screenshots:
[10:52:32]: https://docs.fastlane.tools/getting-started/ios/screenshots/
[10:52:32]: 👩‍✈️ Learn more about distribution to beta testing services:
[10:52:32]: https://docs.fastlane.tools/getting-started/ios/beta-deployment/
[10:52:32]: 🚀 Learn more about how to automate the App Store release process:
[10:52:32]: https://docs.fastlane.tools/getting-started/ios/appstore-deployment/
[10:52:32]: 👩‍⚕️ Learn more about how to setup code signing with fastlane
[10:52:32]: https://docs.fastlane.tools/codesigning/getting-started/
[10:52:32]:
[10:52:32]: To try your new fastlane setup, just enter and run
[10:52:32]: $ fastlane release

之后运行fastlane release,应用成功之后就会跳出一个h5页面,给你审查App的一些信息。

1
2
3
[11:11:00]: Verifying the upload via the HTML file can be disabled by either adding
[11:11:00]: `force true` to your Deliverfile or using `fastlane deliver --force`
[11:11:00]: Does the Preview on path './fastlane/Preview.html' look okay for you? (y/n)

如果确认没有问题,就可以输入y啦。

之后,还会需要你输入一个 application specific password 。

生成application specific password 可以在 appleid.apple.com/account/manage 中的安全部分下的App专用密码中生成一个给Fastlane的专用密码。

如果想要查看已经生成过的专用密码,则可以在安全中点击编辑,然后再App专用密码中点击查看记录。

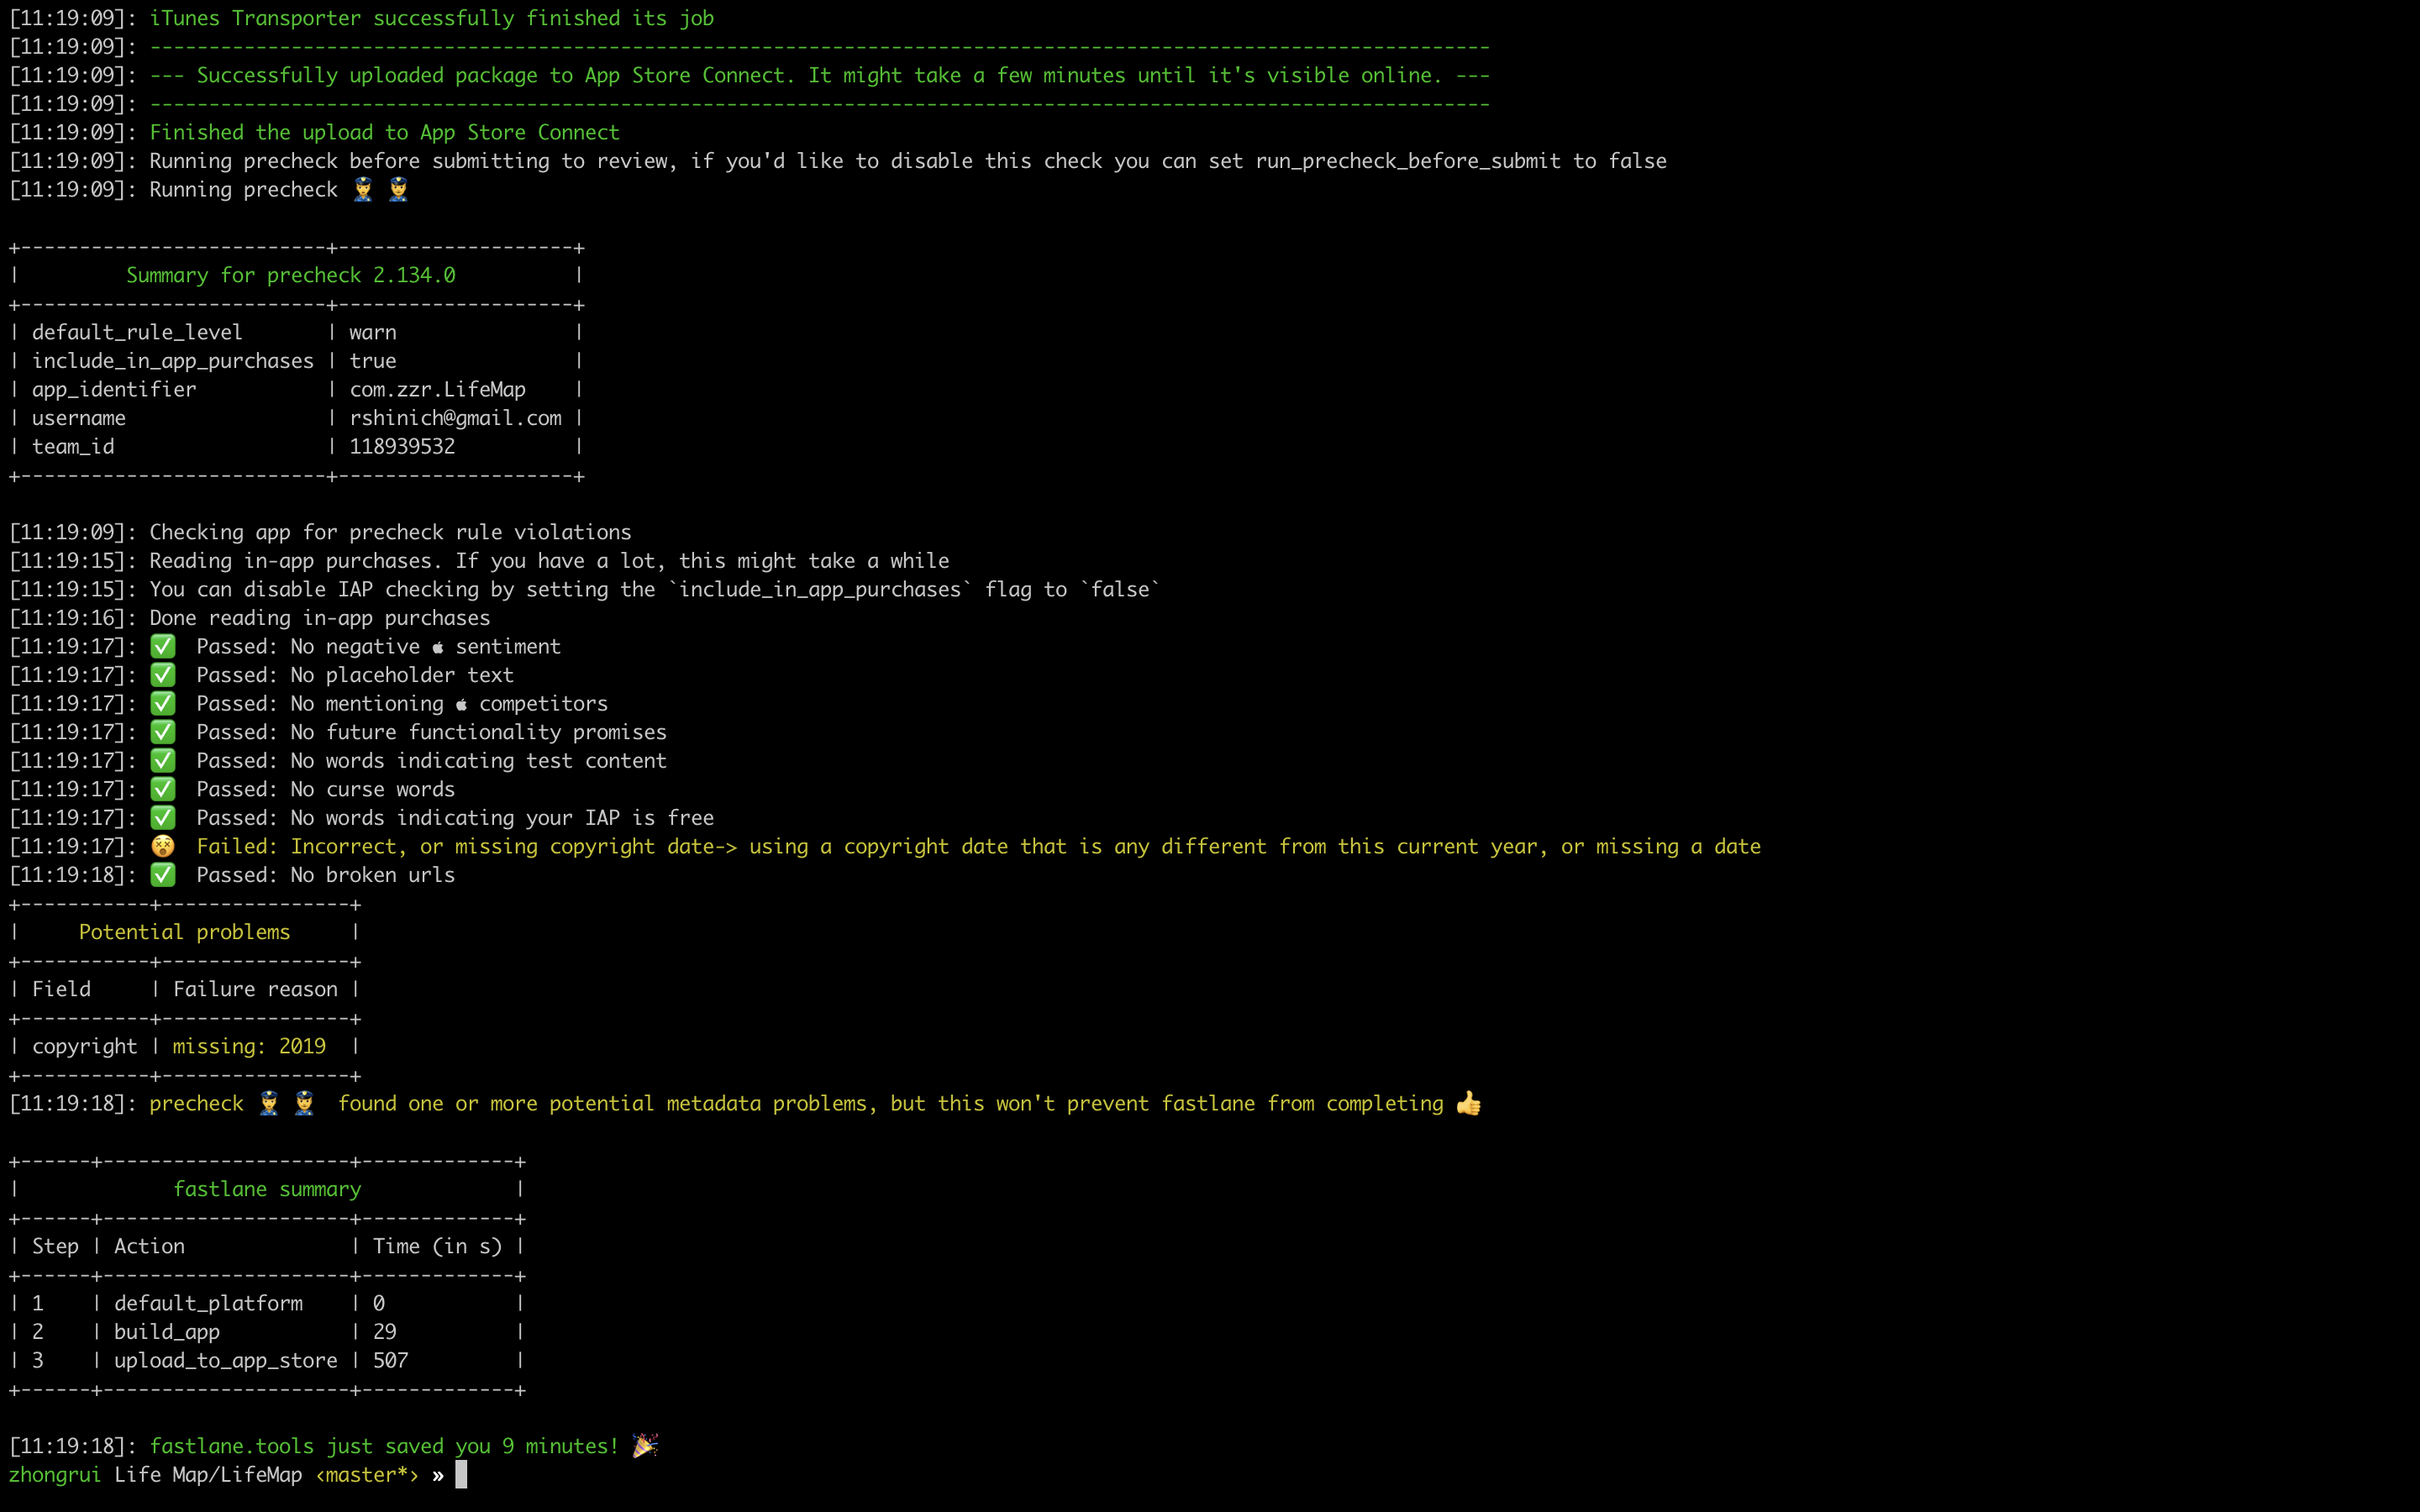
最后你会看到这个,就表示已经上传成功啦。

1
2
3
4
5
6
7
8
[11:18:11]: This might take a few minutes. Please don't interrupt the script.
[11:19:09]: iTunes Transporter successfully finished its job
[11:19:09]: ------------------------------------------------------------------------------------------------------------------
[11:19:09]: --- Successfully uploaded package to App Store Connect. It might take a few minutes until it's visible online. ---
[11:19:09]: ------------------------------------------------------------------------------------------------------------------
[11:19:09]: Finished the upload to App Store Connect
[11:19:09]: Running precheck before submitting to review, if you'd like to disable this check you can set run_precheck_before_submit to false
[11:19:09]: Running precheck 👮‍♀️ 👮
logo

配置文件

Fastfile

这个文件算是最重要的文件了,这里是配置管理lane的,可以在里边编写一些函数,然后调用。
其实这个就是一个ruby脚本,所以不一定非要在这写一些官方的action,也可以写一些其他的ruby命令。

Appfile

用来存储App公共信息,存放app_identifier、apple_id和team_id。

Deiverfile

这里主要是用来写AppleStoreConnect中的配置,包括是否有广告标识以及 更新文案之类的内容。

1
2
3
4
5
6
7
8
9
10
11
12
13
14
15
16
17
app_identifier “com.张忠瑞.lifemap” # The bundle identifier of your app
# 2 用户名,Apple ID电子邮件地址
username “rshinich@gmail.com” # your Apple ID user
# 3 提交审核信息
submission_information({
export_compliance_encryption_updated: false,
export_compliance_uses_encryption: false,
content_rights_contains_third_party_content: false,
add_id_info_uses_idfa: true,
add_id_info_serves_ads: true,
add_id_info_limits_tracking: true
})
#4 更新说明
release_notes({
‘Zh-Hans’ => “1.部分页面优化;
2.修复已知bug;”
})

metadata

这里是个文件夹,也是在AppleStoreConnect中相对应的东西。

screenshots

这里就是App Store的截图数据。


未完待续。。。

基本命令

Build

1
build_app(scheme: “MyApp")
1
2
3
build_app(scheme: "MyApp”,
workspace: "Example.xcworkspace",
include_bitcode: true)

增加build版本号

1
increment_build_number(xcodeproj:””ShineEX.xcworkspace)

TestFlight

1
2
3
4
5
6
7
8
9
10
11
12
13
14
15
16
17
18
19
20
21
22
23
24
25
# This file contains the fastlane.tools configuration
# You can find the documentation at https://docs.fastlane.tools
#
# For a list of all available actions, check out
#
# https://docs.fastlane.tools/actions
#
# For a list of all available plugins, check out
#
# https://docs.fastlane.tools/plugins/available-plugins
#
>
# Uncomment the line if you want fastlane to automatically update itself
# update_fastlane
default_platform(:ios)
platform :ios do
desc "Push a new beta build to TestFlight"
lane :beta do
increment_build_number(xcodeproj: "ShineEX.xcodeproj")
build_app(workspace: "ShineEX.xcworkspace", scheme: "ShineEX")
upload_to_testflight
end
end

参考文档

fastlane docs

详解CI、CD相关概念

fastlane Tutorial: Getting Started | raywenderlich.com

fastlane 教程: 入门

fastlane一步一步实现从安装到自动打包(最新) - 简书

fastlane与持续集成 - - SegmentFault 思否

Fastlane-iOS(调研篇)-云栖社区-阿里云

https://blog.csdn.net/qq_34047841/article/details/54943753?spm=a2c4e.10696291.0.0.35a019a4OhB2hp